
ENGINE COOLING SYSTEM — Radiator (Aluminum type)(Cont'd)
LC-12prose procedureSteps 3 (disassembly) and 1 (assembly) for oil cooler apply to A/T model only.
Radiator (Aluminum type)(Cont'd)
Disassembly (Continued)
- 1In areas where Tool cannot be used, use a screwdriver to bend the edge up.Be careful not to damage tank.
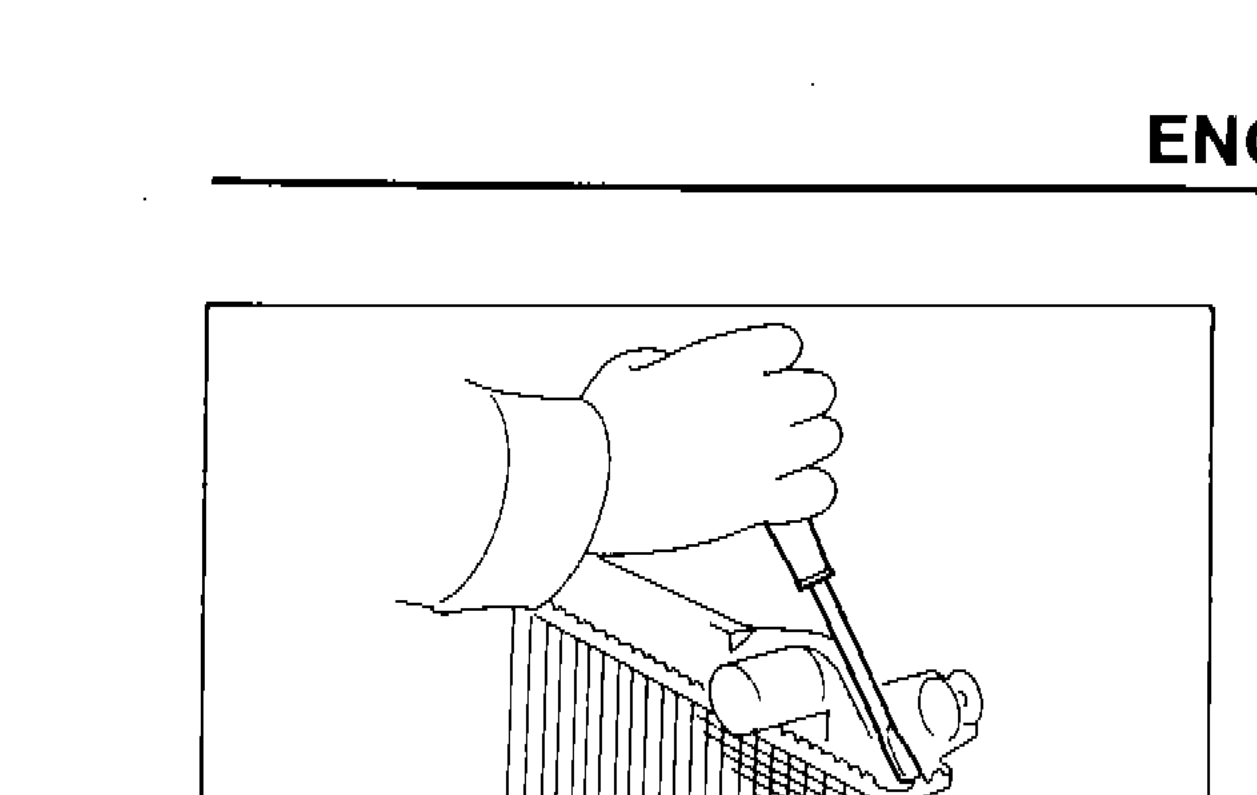 SLC930
 - 2Make sure the edge stands straight up.
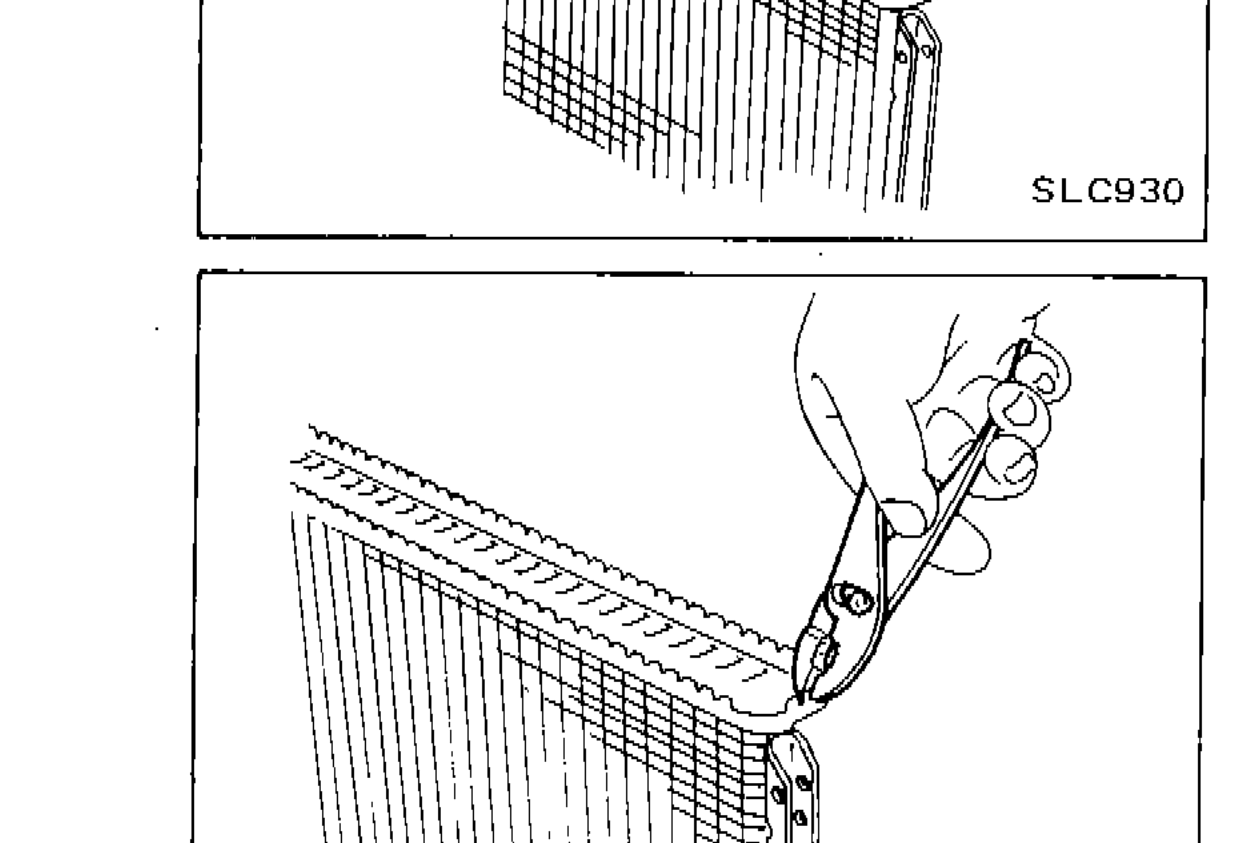 SLC931
 - 3Remove oil cooler from tank. (A/T model only)
Assembly
- 1Install oil cooler. (A/T model only)Pay attention to direction of conical washer.
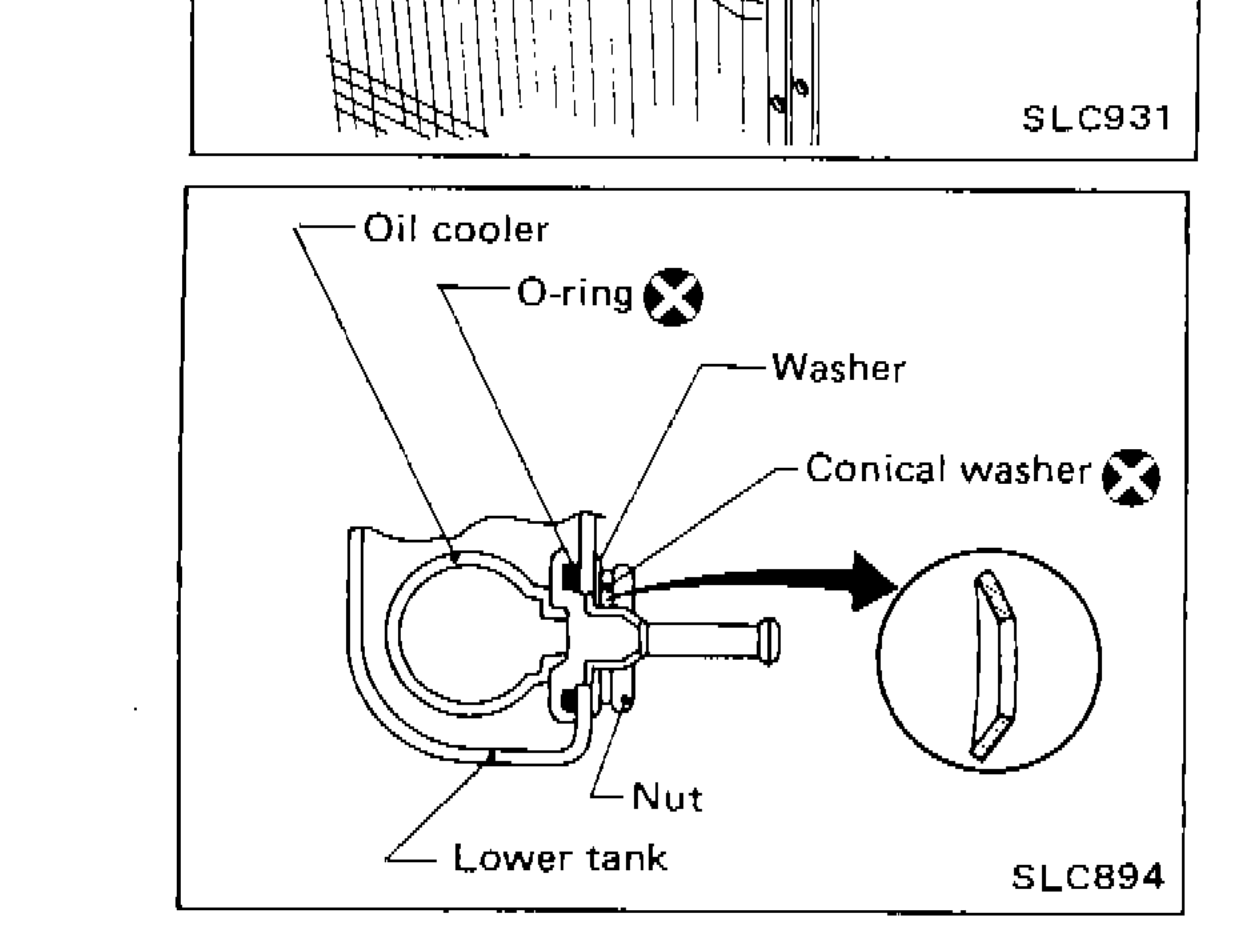 SLC894
 - 2Clean contact portion of tank.
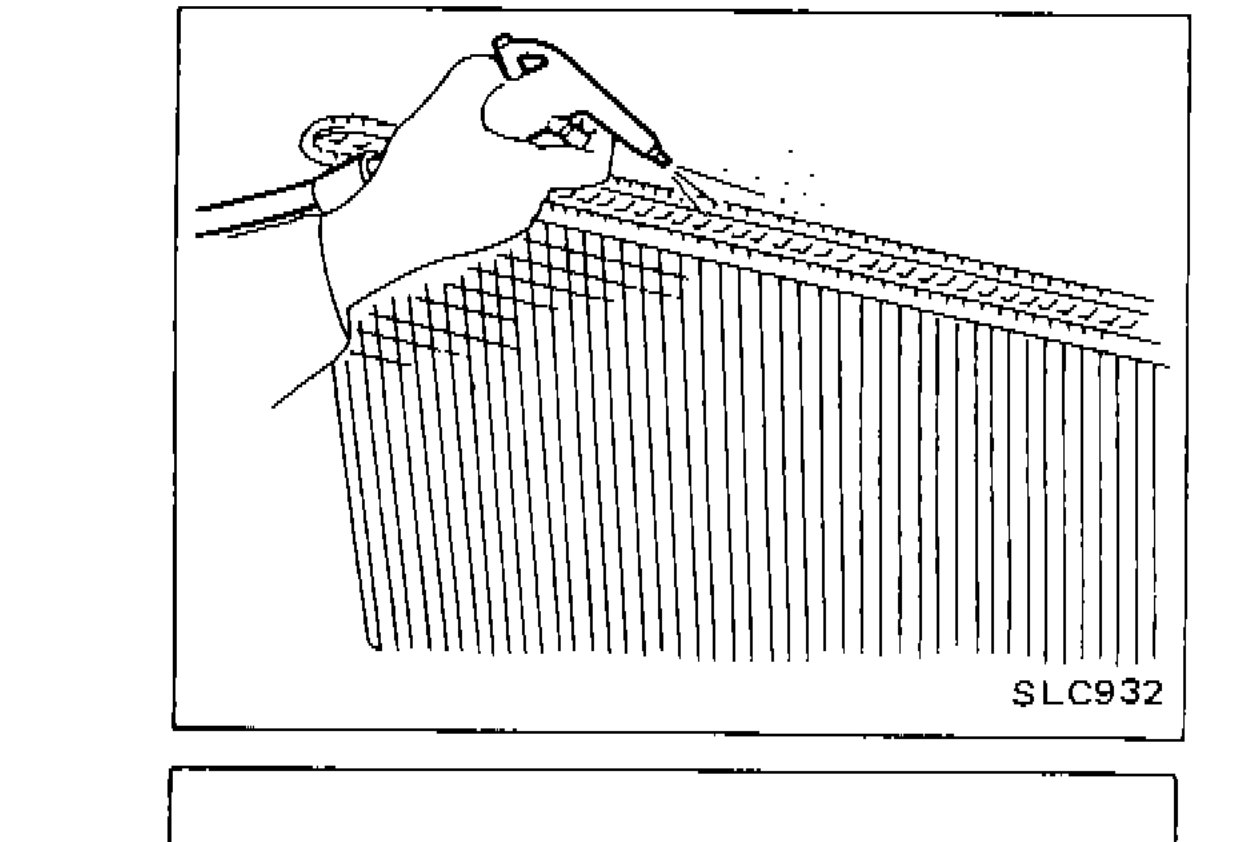 SLC932
 - 3Install sealing rubber. Push it in with fingers.Be careful not to twist sealing rubber.
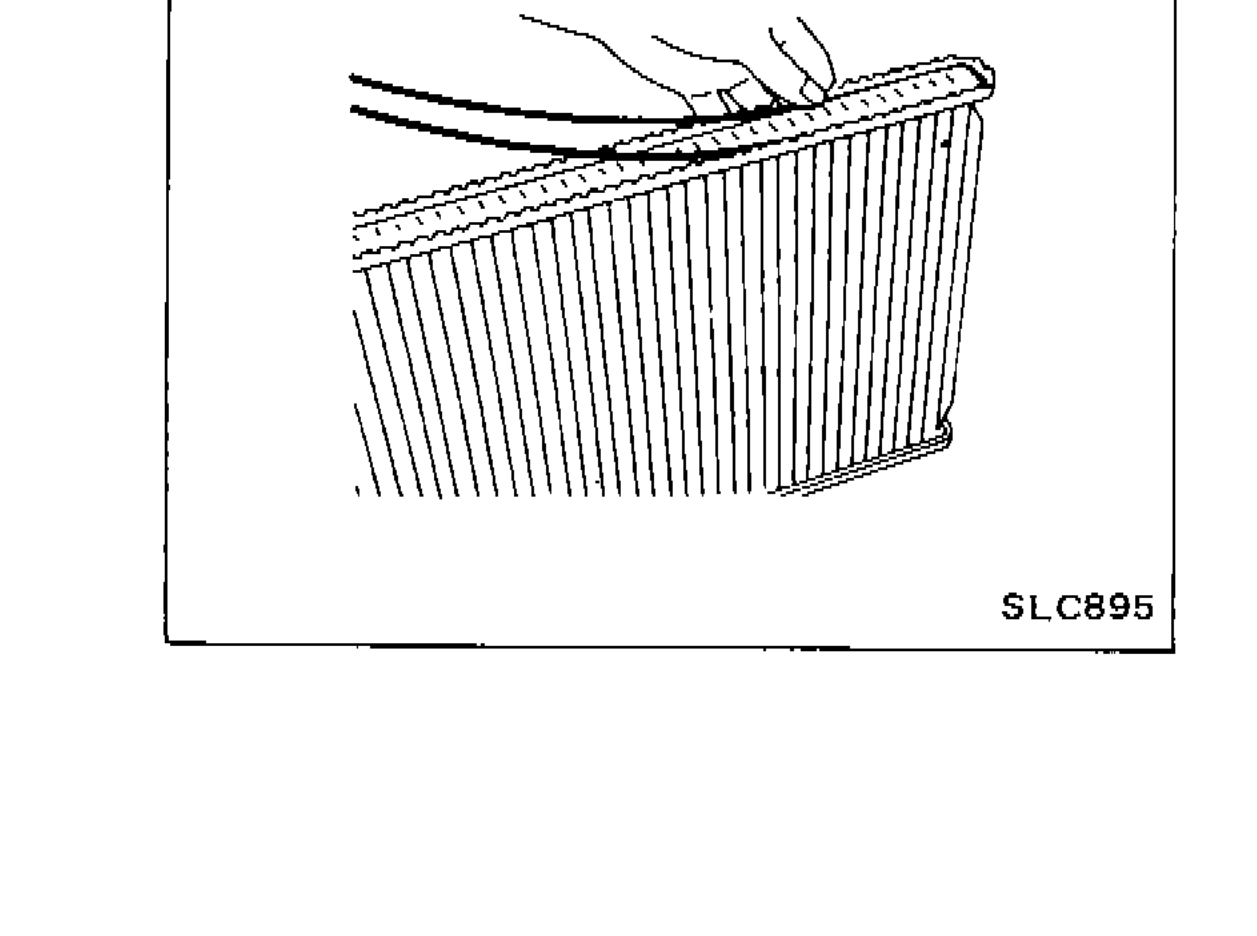 SLC895